|
10/16/2021 0 Comments FALL FASHION VISION BOARDI love a good vision board, especially when it's fashion-related! The image above is my fall fashion vision board for this year- a collage filled with the trends, colors, styles, and outfits I'm inspired by this season. Keep reading to learn some tips & tricks for making your own vision board. MAKING YOUR OWN FASHION VISION BOARD:STEP 1: DESCRIBE YOUR STYLE You want your vision board to reflect your own unique style, so take a moment to write down which styles, articles of clothing, and aesthetics you love. Be sure you aren't just hopping on the latest trends- really think about what YOUR style is. For example, I wrote down: preppy, colorful, sweaters, crewnecks & hoodies, and layering. STEP 2: FIND PHOTOS Obviously Pinterest is a must! I'm linking my FALL FASHION VISION BOARD board here as a reference and starting point :) I also love to see what my favorite bloggers and influencers are wearing this season! I get inspo by going through their Instagram feeds and saving the outfits that match my style. STEP 3: MAKE YOUR VISION BOARD I like to use Pixelmator (like Photoshop but less expensive) to create my vision board. I simply download all the outfit images (including a few background images like the smiley faces and heart patterns) and then add them all together into a collage format. Canva is a great free site to use as well when making a collage. If you want to see how I recreated some of these outfits from my vision board, be sure to watch my latest YouTube video: RECREATING MY FAVE FALL PINS. And with that I will see you next Saturday with another fashion post! XOXO, STEFFI
0 Comments
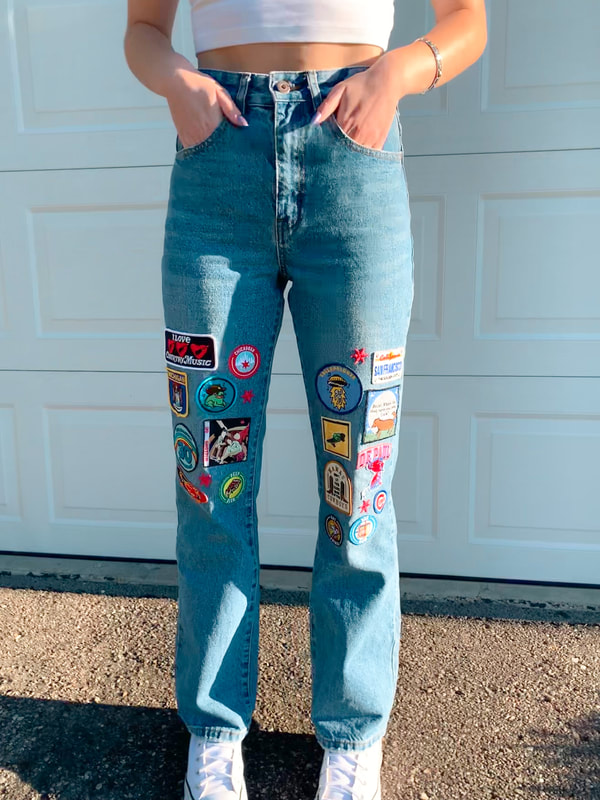
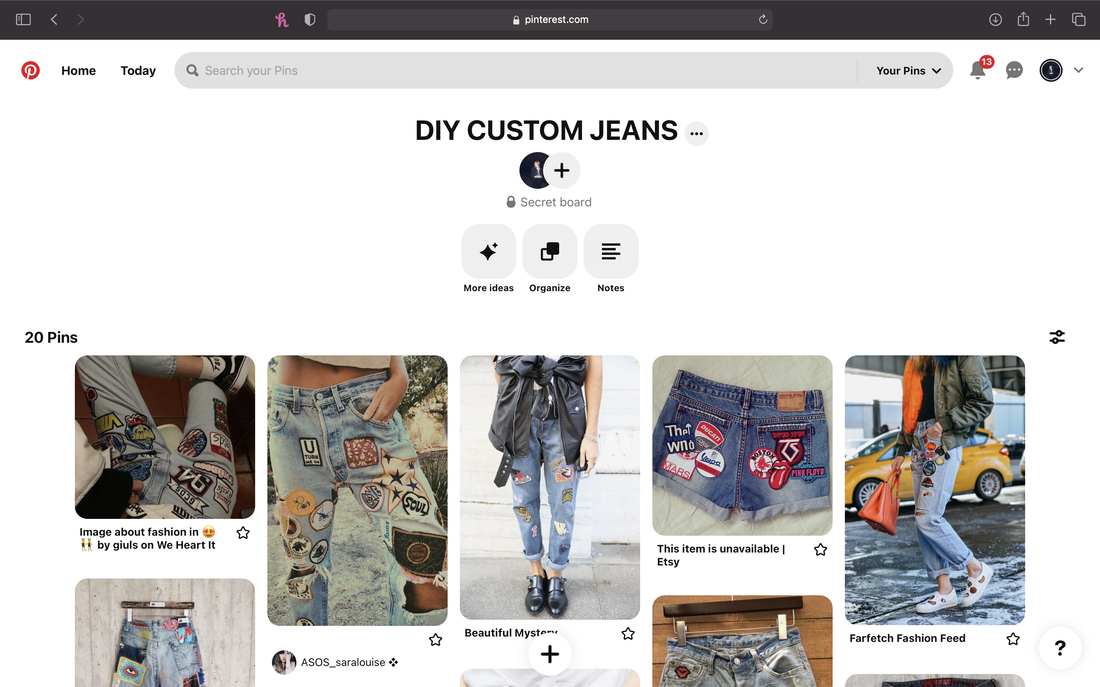
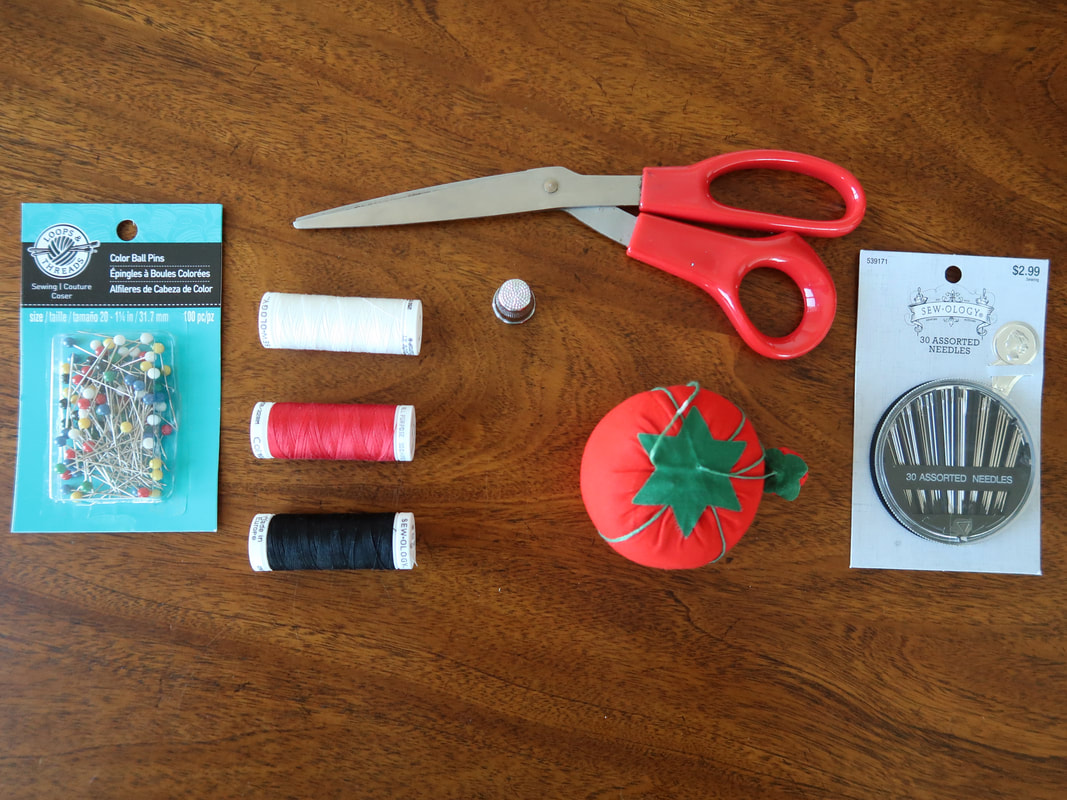
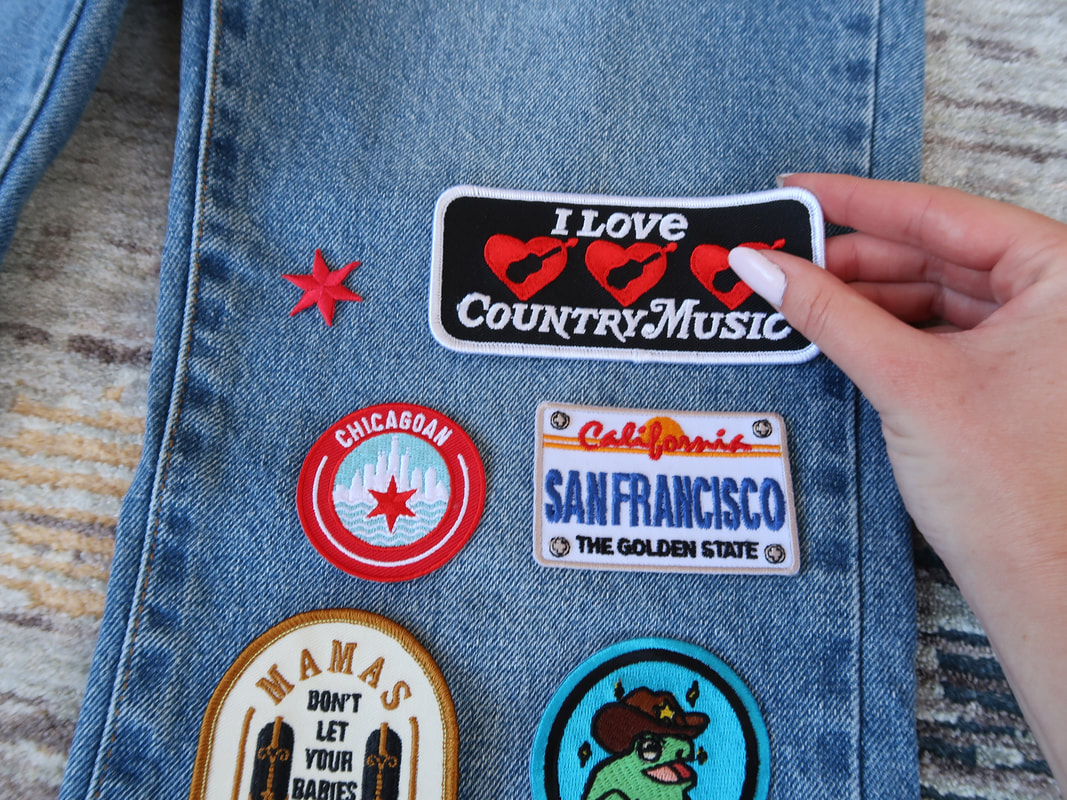
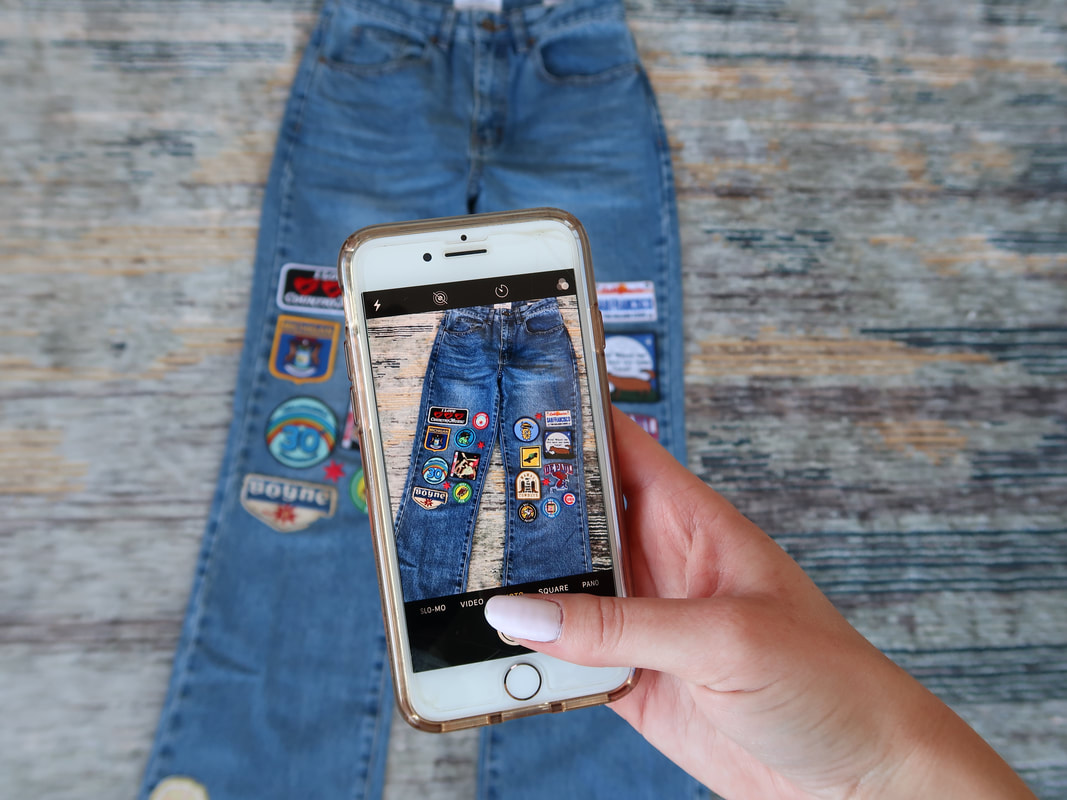
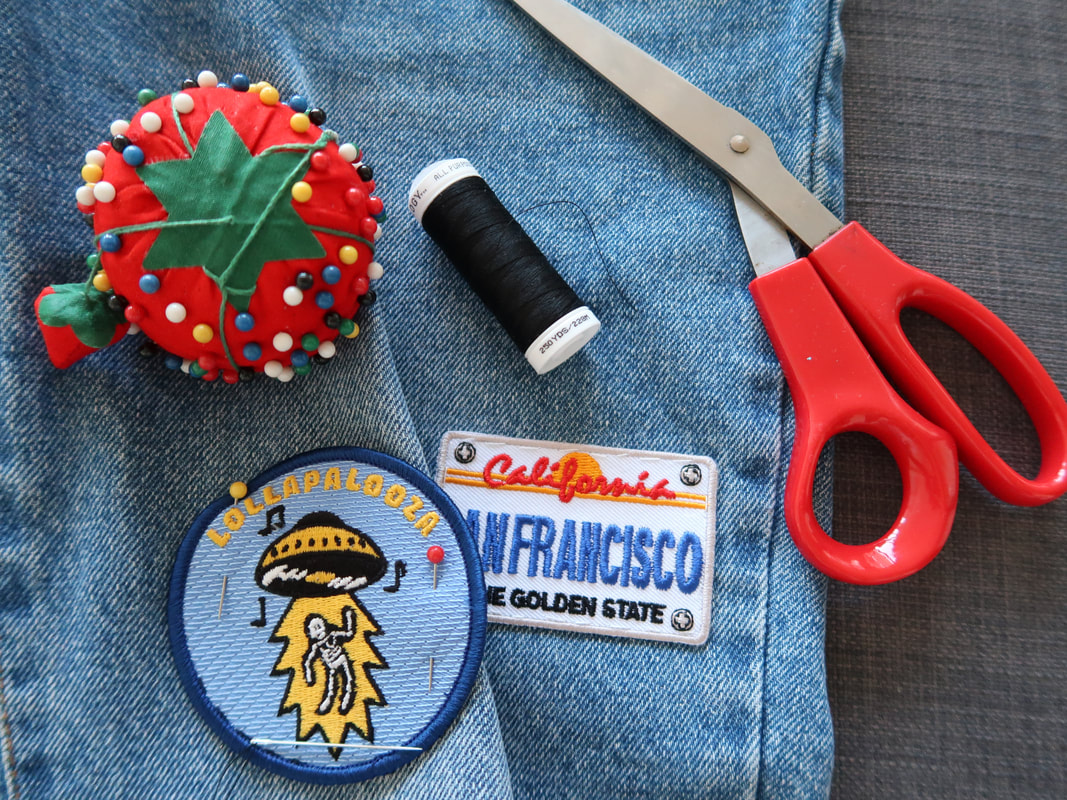
10/9/2021 0 Comments HOW TO MAKE YOUR OWN CUSTOM JEANSIf you're looking for a custom, unique item to add to your wardrobe, look no further. Today's post is a tutorial on how to make your own one-of-a-kind, iron-on patch jeans! STEP 1: GET INSPO ON PINTERESTBefore embarking on this great project, you'll need to gather images of what you want your jeans to look like. I went on Pinterest and found some images that show the kind of design I'm going for. It's essentially a vision board but for your jeans! You can find my board below, but feel free to collect images yourself as well! STEP 2: GATHER YOUR MATERIALSMaterials needed:
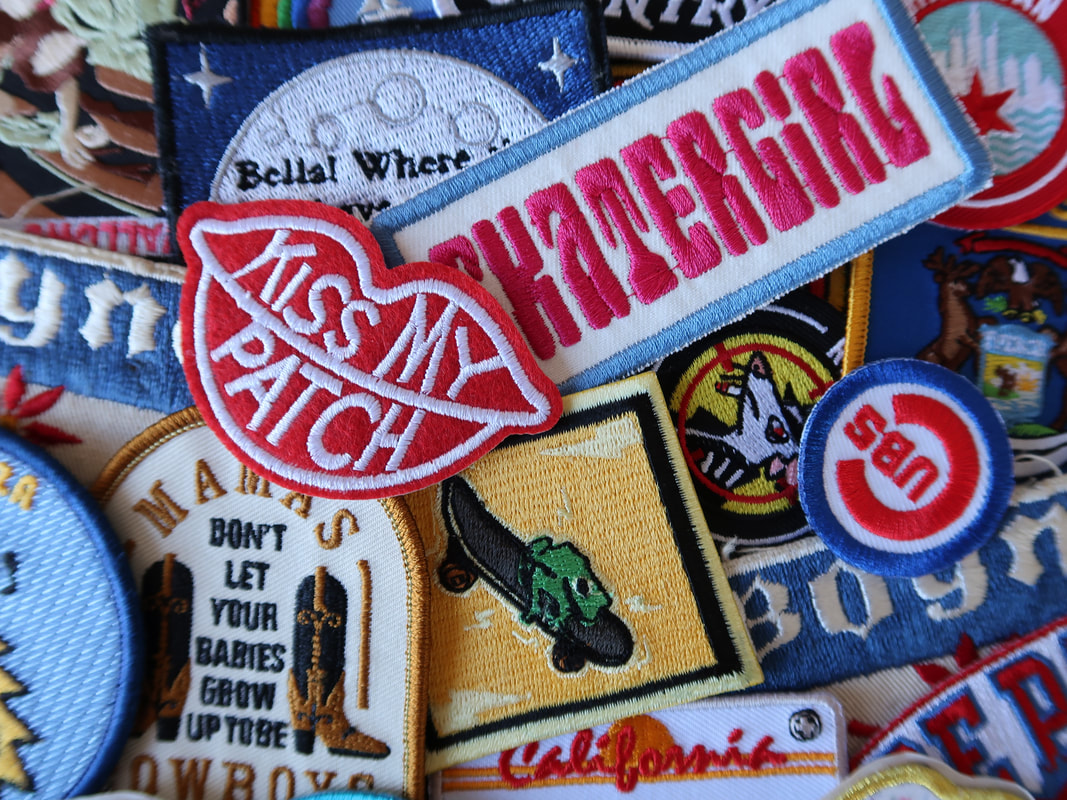
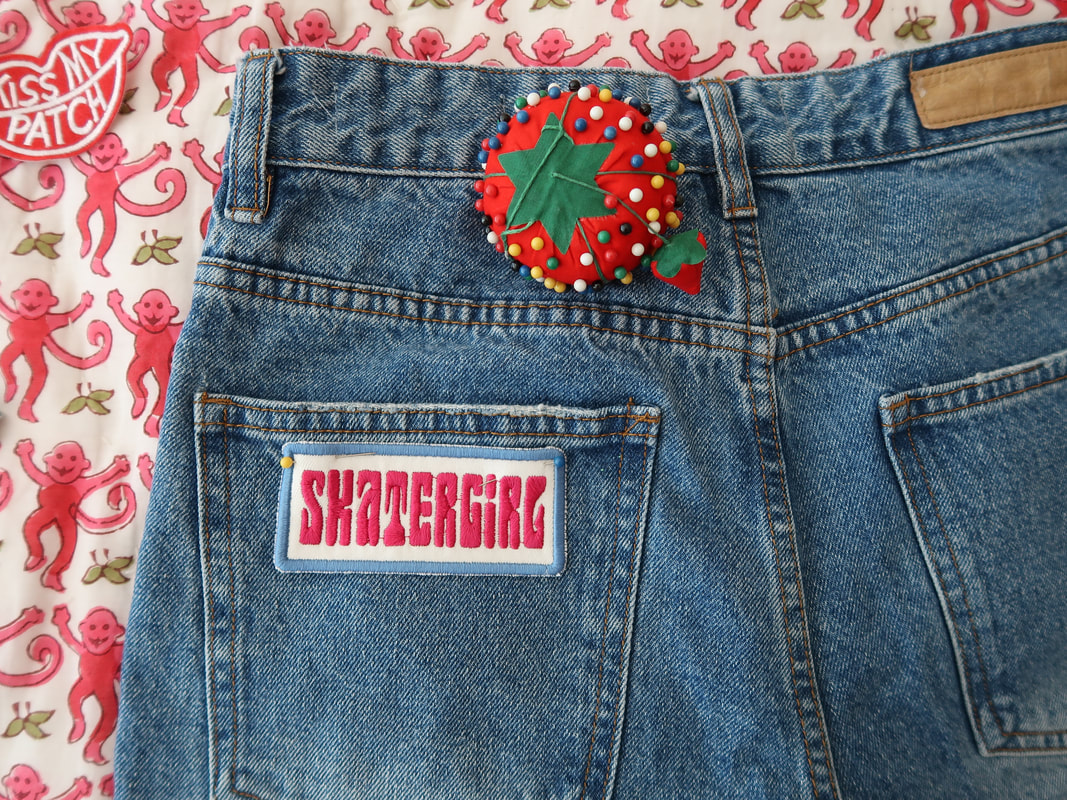
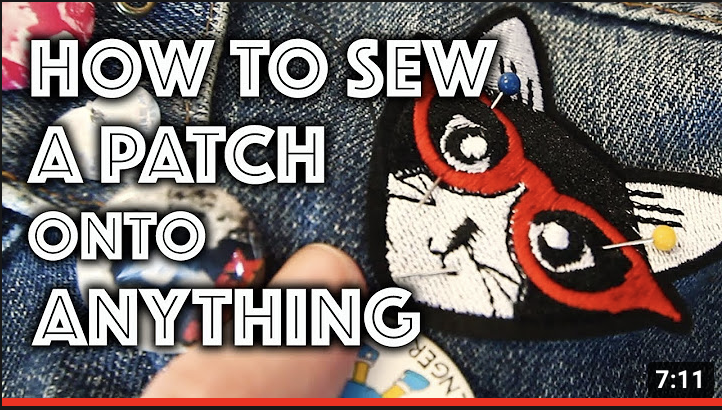
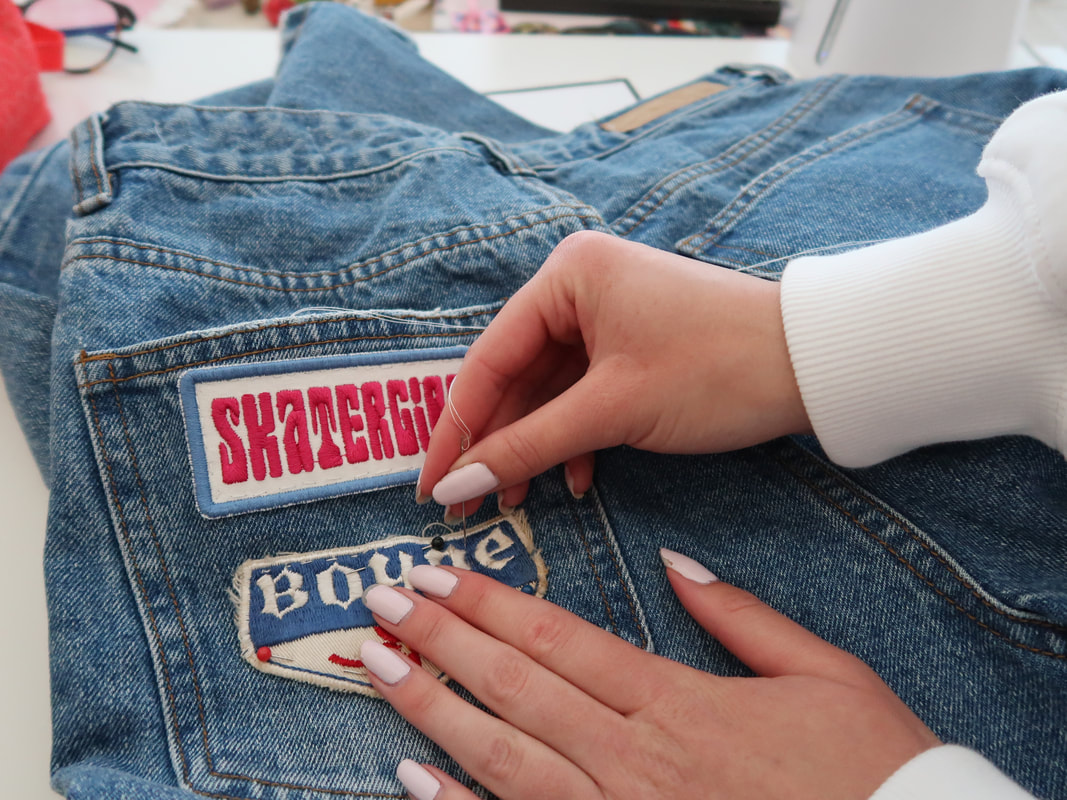
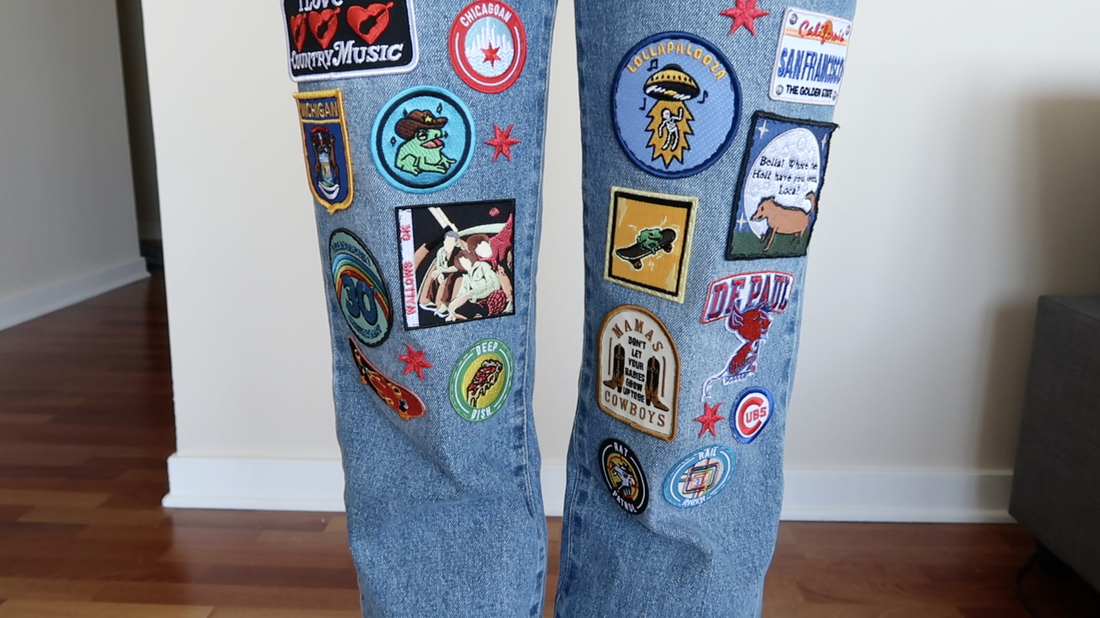
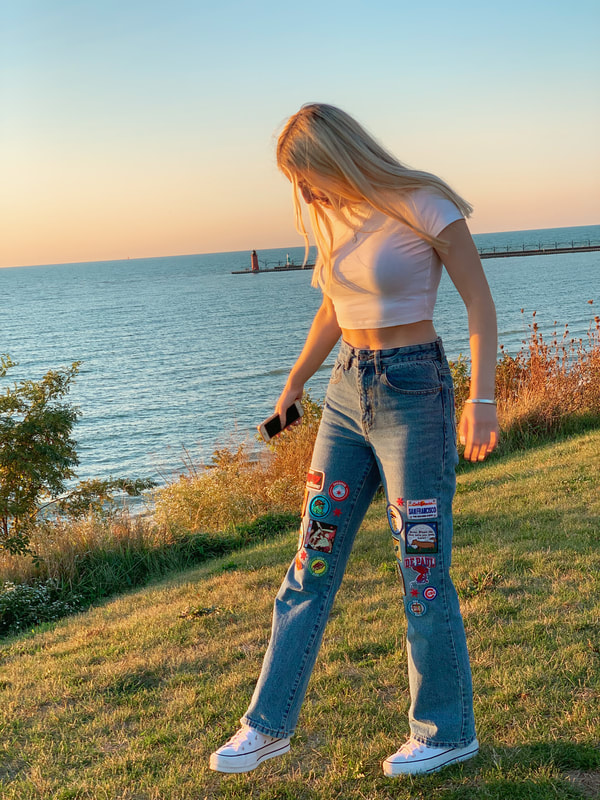
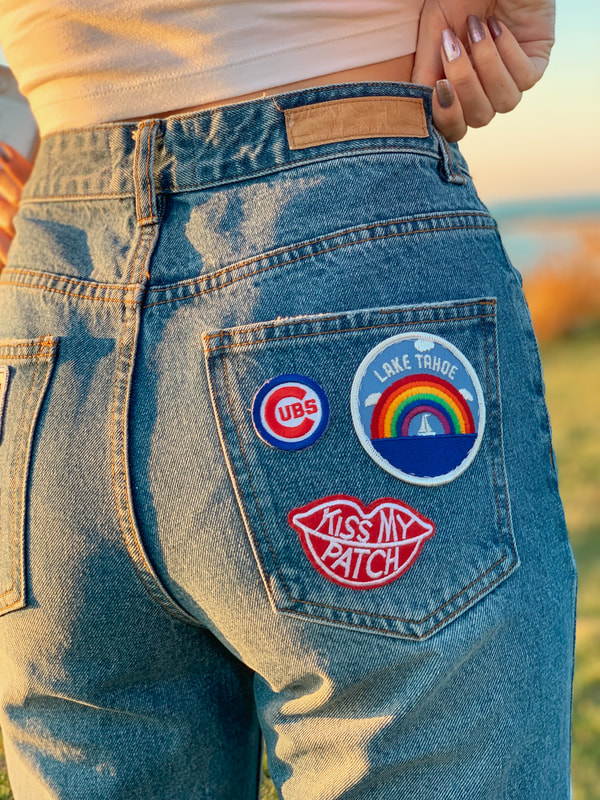
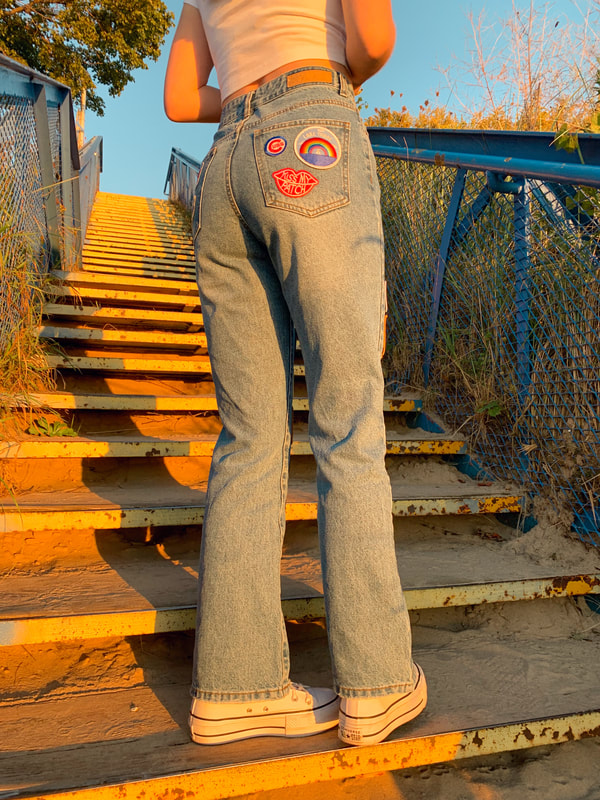
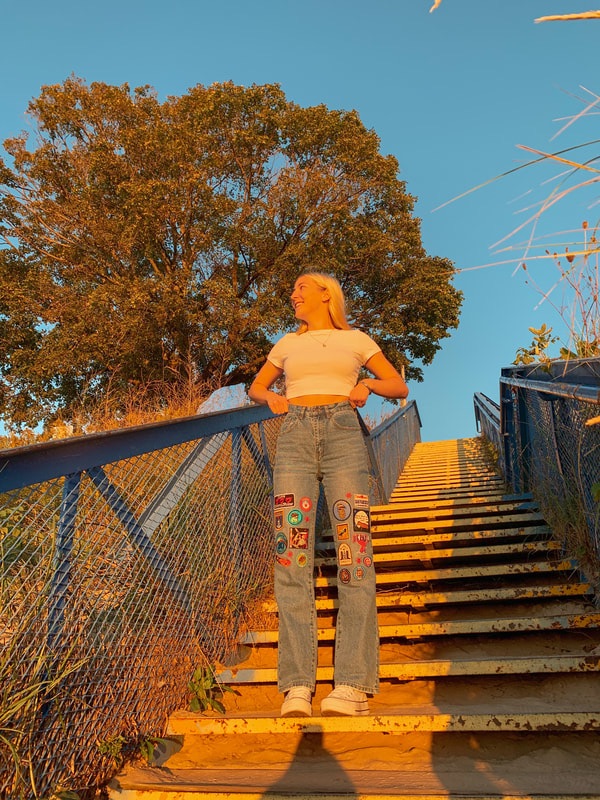
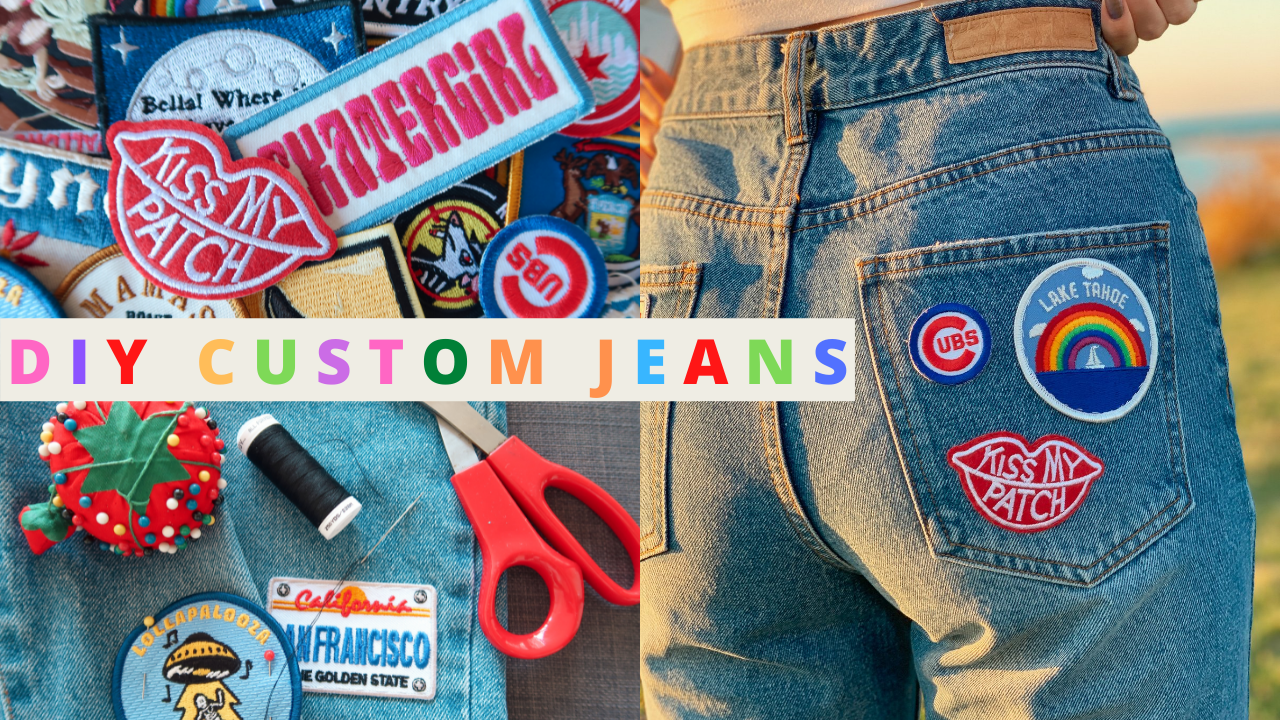
*in this tutorial I am sewing the patches onto my jeans and NOT ironing them on. Sewing a patch on means I will be able to easily remove it later if I grow out of my jeans and want to transfer the patches to a different pair. There is nothing wrong with going the route of ironing on the patches- that just means the patches are permanently stuck to your jeans. BUYING THE PATCHES: This is the fun part! I ordered most of my patches off of Etsy. They were all pretty affordable and shipped quickly! I wanted my patches to be personal to me, so I searched for items like "Michigan patch," "skateboarding patch," and patches representing places I've traveled to and things I like. STEP 3: LAY OUT PATCHES ON JEANSIMPORTANT: don't sew anything yet! This is your time to mess around with design ideas and see where you want the patches to go. Really take your time with this step and try out multiple layouts before settling on a final design. TIP: I tried on my jeans beforehand to see where they crease when I sit down so I don't accidentally put any patches in that area (I want these jeans to be comfortable to wear) Once you've settled on a layout, take a picture so you know where to sew each patch. STEP 4: START SEWING THE PATCHES ONTo reiterate, I decided to sew on the patches instead of ironing them on so I have the ability to remove the patches down the road with a simple seam ripper. Below I'm linking a very helpful video which explains how to thread a needle/sew on a patch! After threading the needle, I simply pinned my patch into place on the jeans and started sewing it down. Like I said, the tutorial above gives great visuals on how to sew on a patch! STEP 5: LOTS OF SEWING!Sewing on all these patches is a process that takes a while, but you can pass the time by watching tv, listening to a podcast, or watching YouTube videos while sewing. I watched A LOT of Gossip Girl while working on this project! Here is an example of a patch that has been pinned down to the jeans and is ready to be sewn into place. STEP 6: TRY ON YOUR JEANSAfter all the patches are sewn down, try on your jeans to make sure they look the way you want them to. STEP 7: TAKE PICTURES!Show off your one-of-a-kind, custom jeans by having a photoshoot! My mom helped me take some awesome photos at the beach. If you follow this tutorial and make your own pair of custom jeans be sure to tag me in the pictures on Instagram (@steffisaturdays)- I'd love to see how yours turn out! :) Follow my Instagram to see even more pictures of these iconic jeans! I also made a YouTube tutorial for these jeans for my readers who are visual learners like me :) And with that I will see you next Saturday with another fashion post! XOXO, STEFFI |
CategoriesAll Fashion Ootd STEFFI STYLES CategoriesAll Fashion Ootd STEFFI STYLES CategoriesAll Fashion Ootd STEFFI STYLES Authorhey it's Steffi, and this is my website where I post fashion, travel, and lifestyle blog posts. Enjoy! Archives
October 2023
Categories |

 RSS Feed