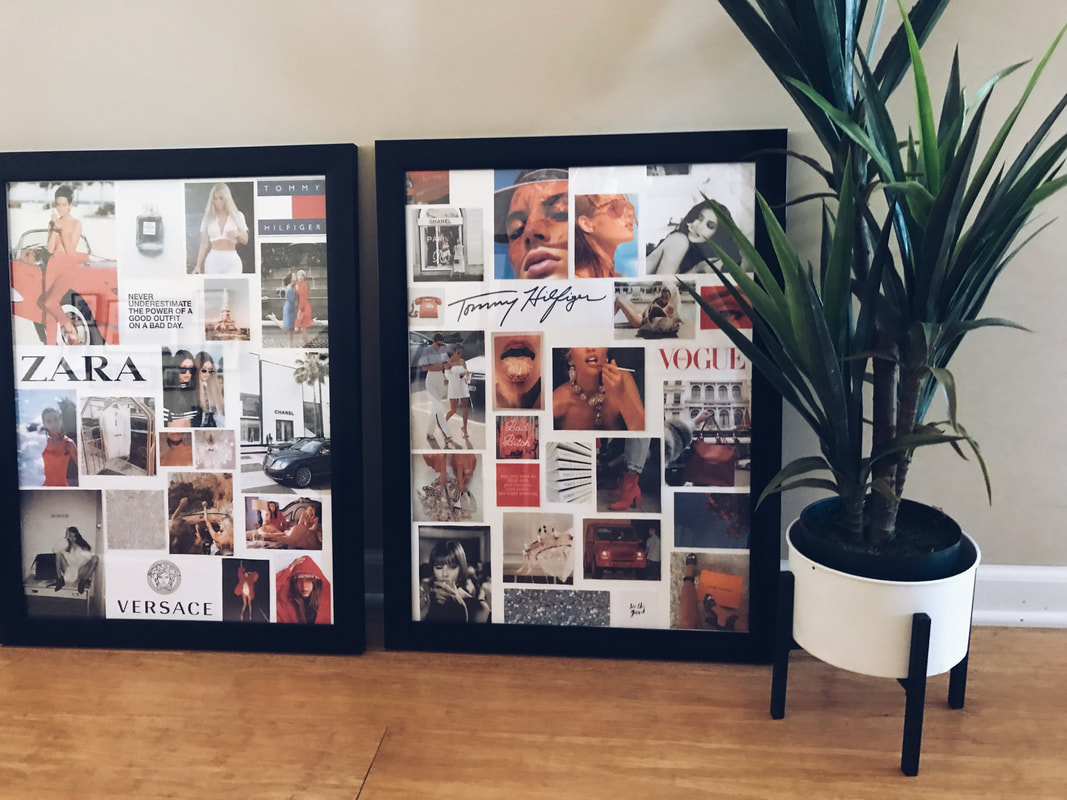
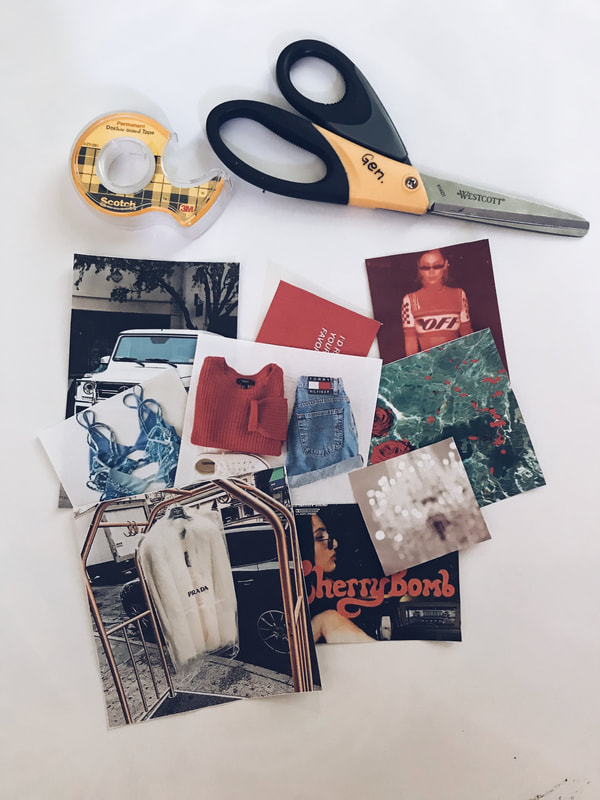
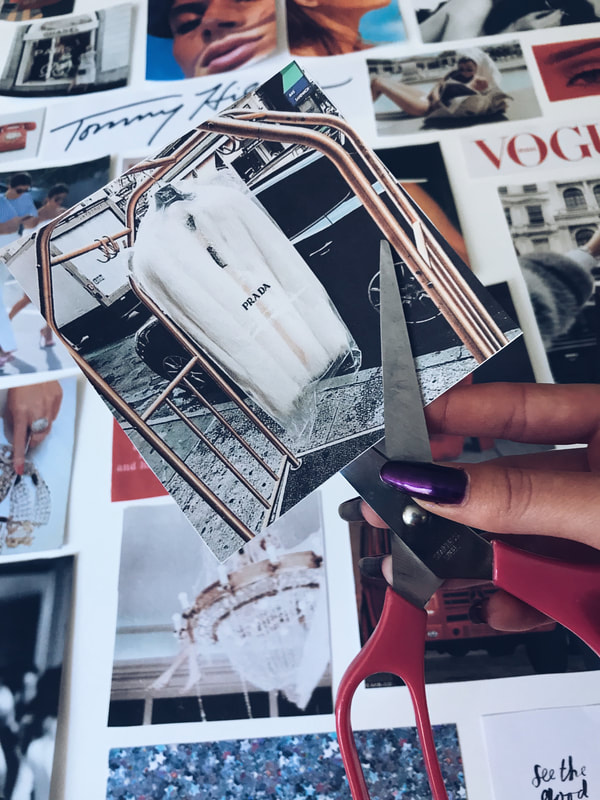
 This past week I moved into my FIRST APARTMENT (exciting stuff!) so naturally I made some fashion collages to hang in my new room! Today's post is dedicated to teaching you guys how to create your own❤️ STEP 1: CREATE A PINTEREST BOARD 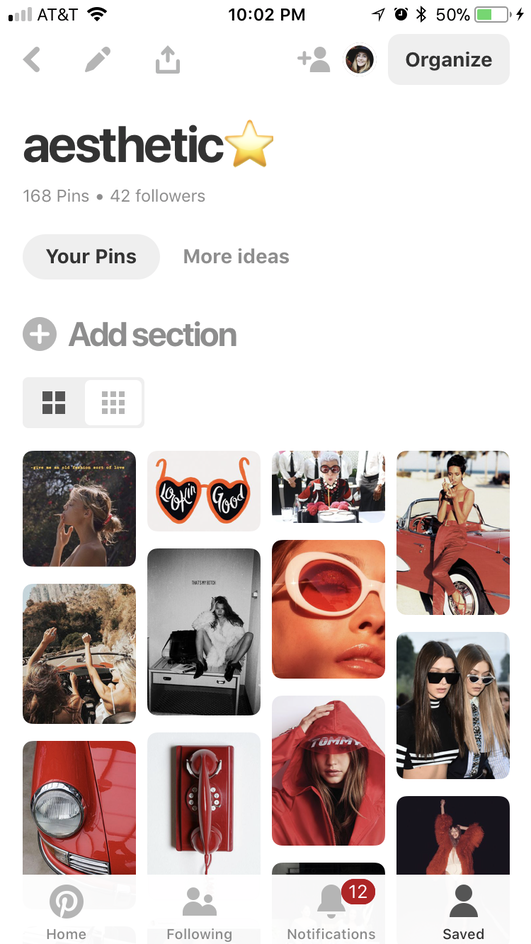 The first step is to create a Pinterest board and fill it up with photos that inspire you- this could be logos of brands you like, pictures of outfits, quotes, celebrities whose style you admire, or even random pictures that match the color scheme you're going for. I went with a red, white, and navy color combo (big surprise, I know). I chose to incorporate pics of the Kardashians, Tommy Hilfiger logos, etc. Check out my Pinterest board for more inspo! STEP 2: SAVE PHOTOS & PRINT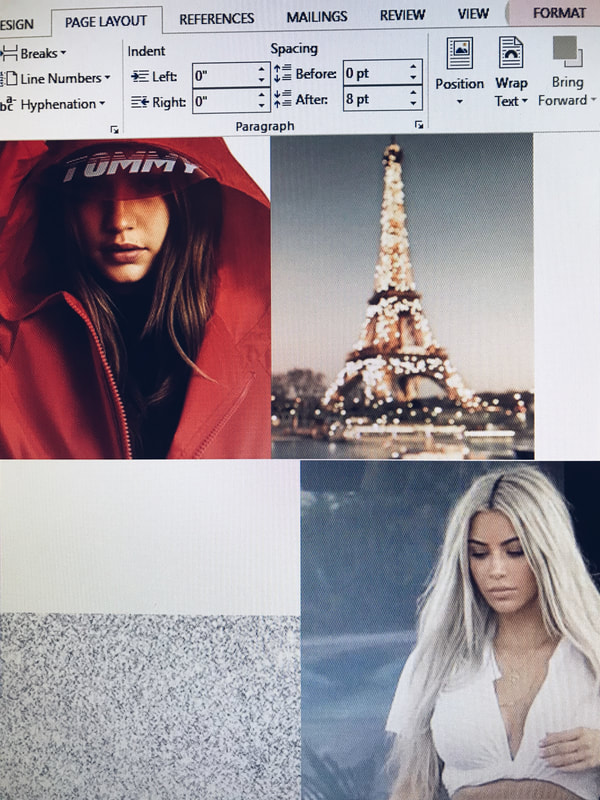 Once you've picked out your photos, the next step is to save them to your computer and put them into a word doc. This is the part where you decide what sizes you want the photos to be, if you want to crop them into neat squares, etc. I chose to do a variety of sizes so my fashion vision board would have more of a collage feel. Once you're happy with the sizes of the pictures print them off using a colored printer. *a tip I have is to make the margins of your pages 0.1 inches wide so that you can fit as many images as possible on to each page* STEP 3: CUT & LAY OUT DESIGN
This is pretty self-explanatory, but the next step is to cut out the photos. Afterwards, take a white poster board, measure and cut it to fit into your picture frame, then get to work laying out your photos on the board. This part is fun because you get to be creative with it! I chose to leave space between each photo to give it a cleaner, crisper look, but you could totally overlap the photos for full on collage vibes. STEP 4: TAPE PICTURES & FRAME YOUR VISION BOARD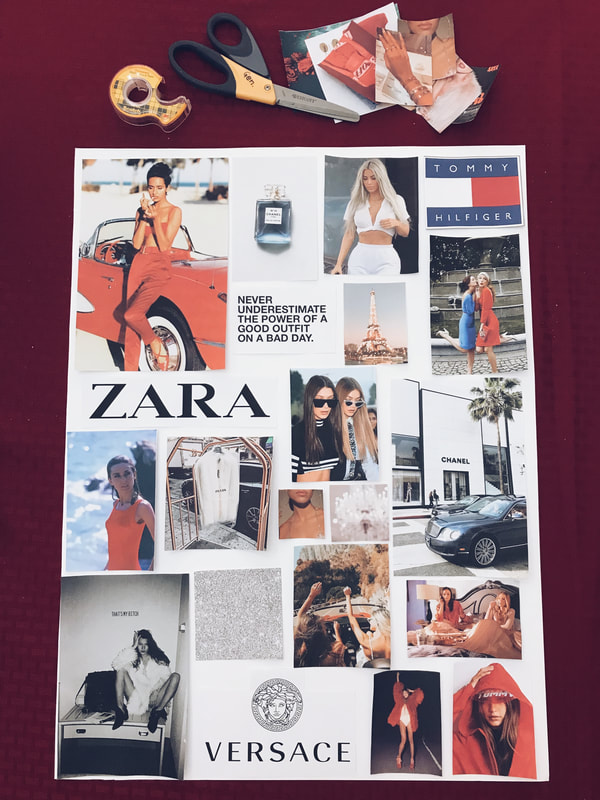 Once you've got your design laid out, it is time to starting attaching the pictures to the poster board. I found that the quickest way to do this is to use a bit of double sided tape on each photo. It's also easiest if you leave all the pictures where they are on the board and pick them up one by one to tape down (that way they you don't have to go back and try to find the right spot to place them). Take your time with this step because you don't want your pictures to be slanted. Once you're done taping, place and secure the finished vision board into your frame. STEP 5: HANG ON WALLI'm going to be 100% honest, my dad hung these up for me but you can Google 'how to hang a frame' and a ton of tutorials on how to do this should pop up. Once the frames are hung up, you can sit back and admire your work 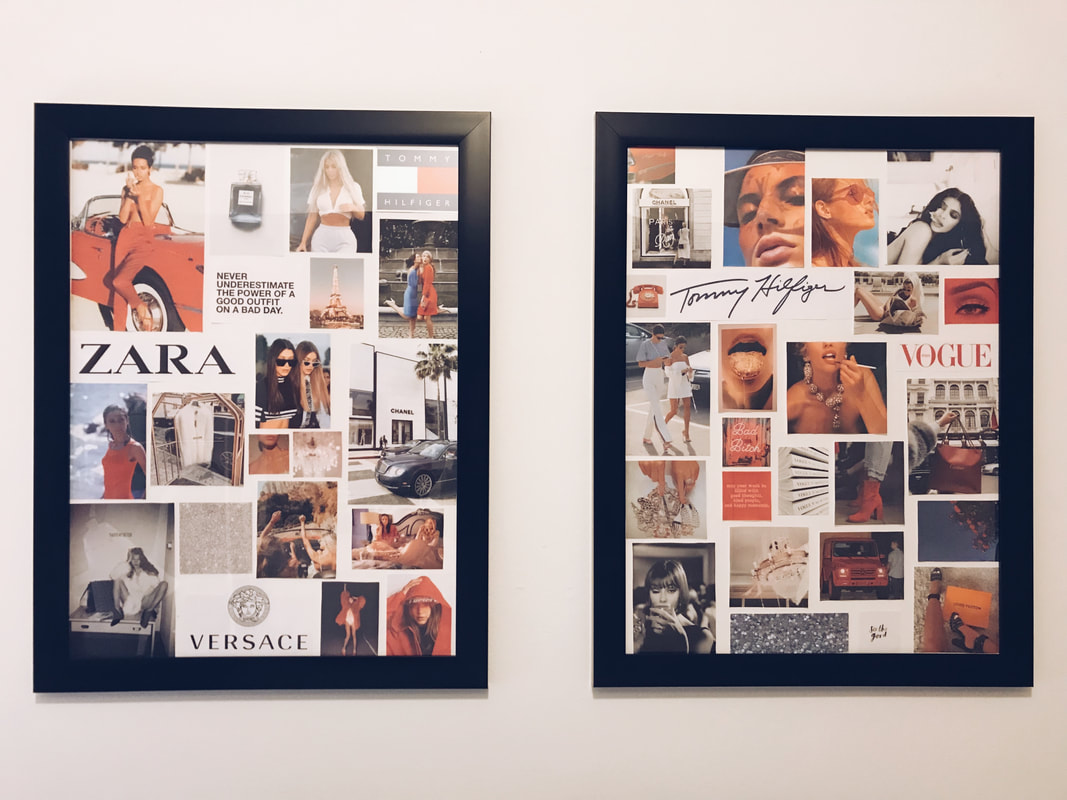 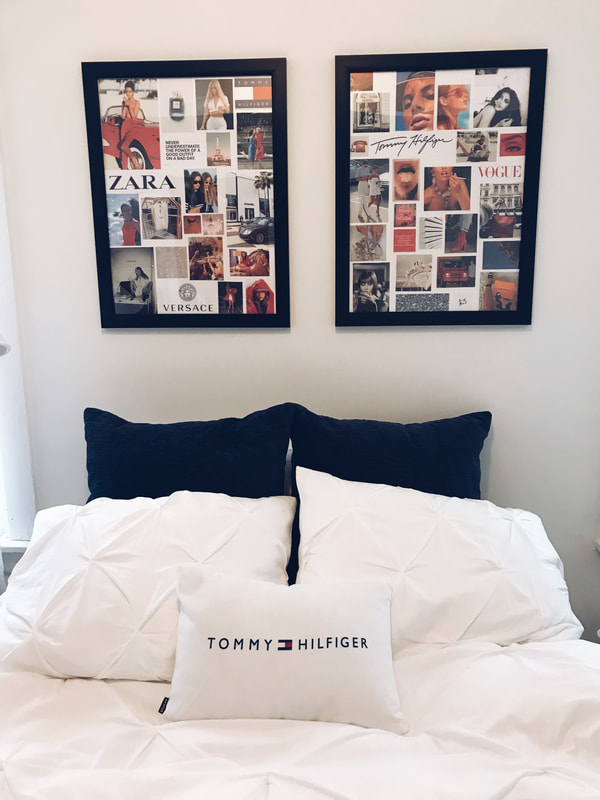 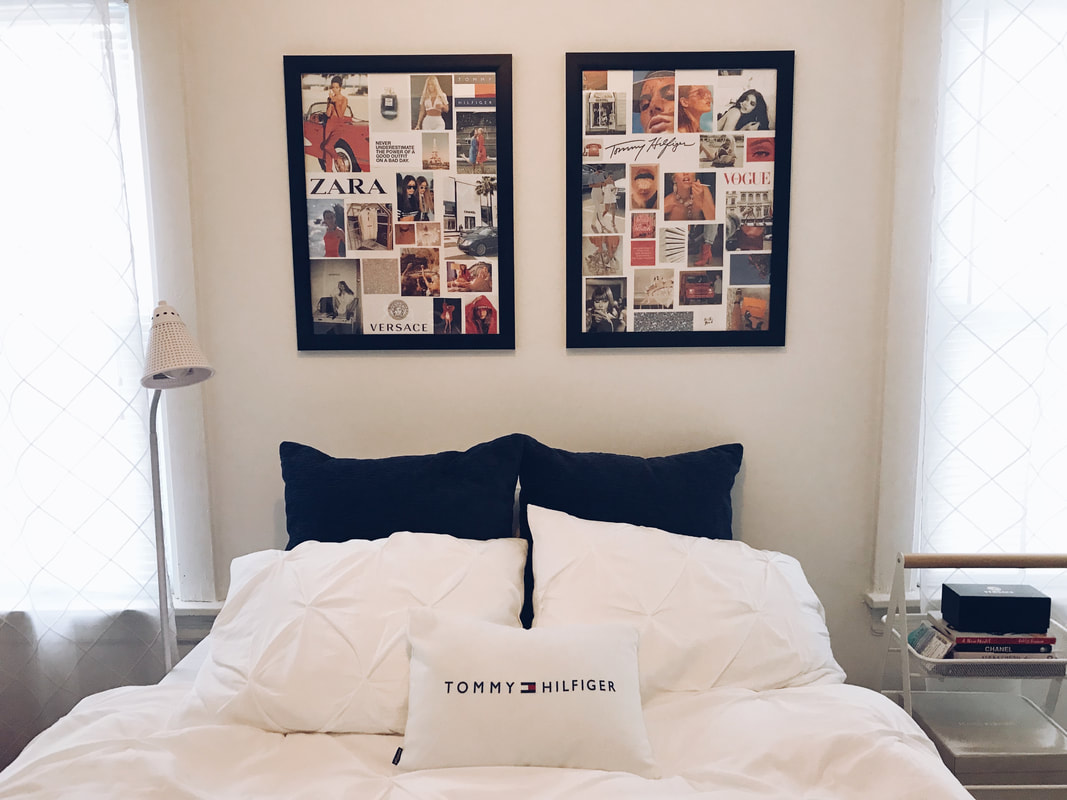 If you choose to make your own fashion vision board be sure to share pics with me on Instagram! happy Saturday xoxo
0 Comments
Leave a Reply. |
CategoriesAll Fashion Ootd STEFFI STYLES CategoriesAll Fashion Ootd STEFFI STYLES CategoriesAll Fashion Ootd STEFFI STYLES Authorhey it's Steffi, and this is my website where I post fashion, travel, and lifestyle blog posts. Enjoy! Archives
October 2023
Categories |
 RSS Feed