|
10/15/2022 0 Comments HOW TO DIY YOUR OWN BEADED JEWELRY In my Fall 2022 Fashion Vision Board post, I wrote that one trend I want to incorporate into my outfits this season is beaded jewelry. There are plenty of beautiful, beaded bracelets and necklaces on the market, but I thought it would be cool to create my own. Not only is this jewelry one-of-a-kind, but creating jewelry is a fun and creative project. Even though creating bracelets is pretty self-explanatory, I have decided to create a step-by-step guide anyways. Below you will find a 7-step guide for creating beaded bracelets and necklaces. STEP 1: GATHER MATERIALS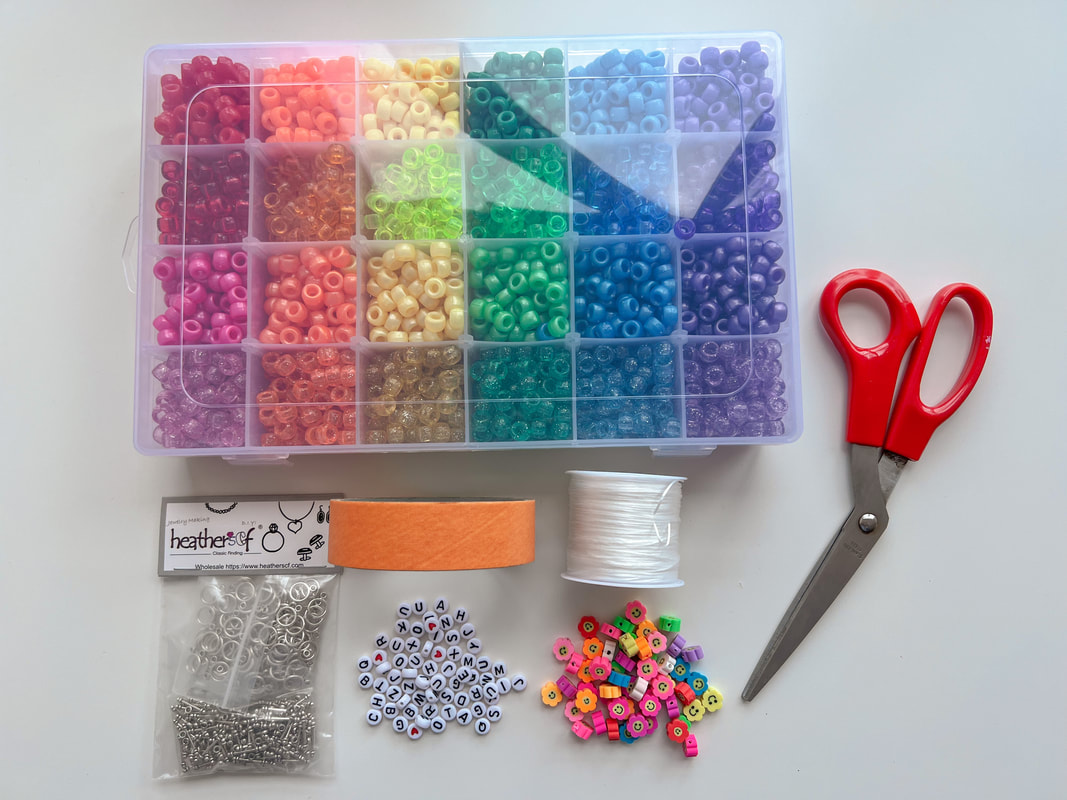 The first step of any good DIY project is to gather supplies. I bought my beads, elastic cord, and necklace clasps off Amazon, but you can also find these materials at your local craft store. Below are the links for the products I used in this blog post. STEP 2: MEASURE & CUT ELASTIC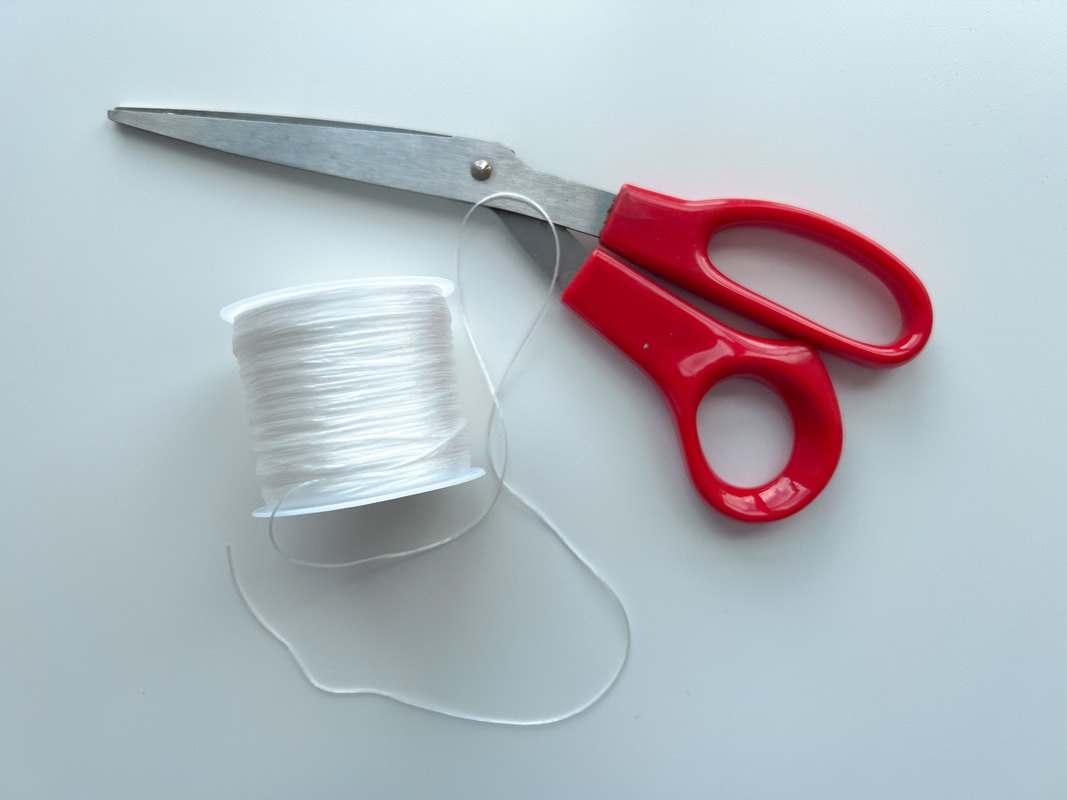 Measure the elastic around your wrist, leaving a few inches of extra cord. Once you have the desired length, cut the cord. STEP 3: STRETCH ELASTIC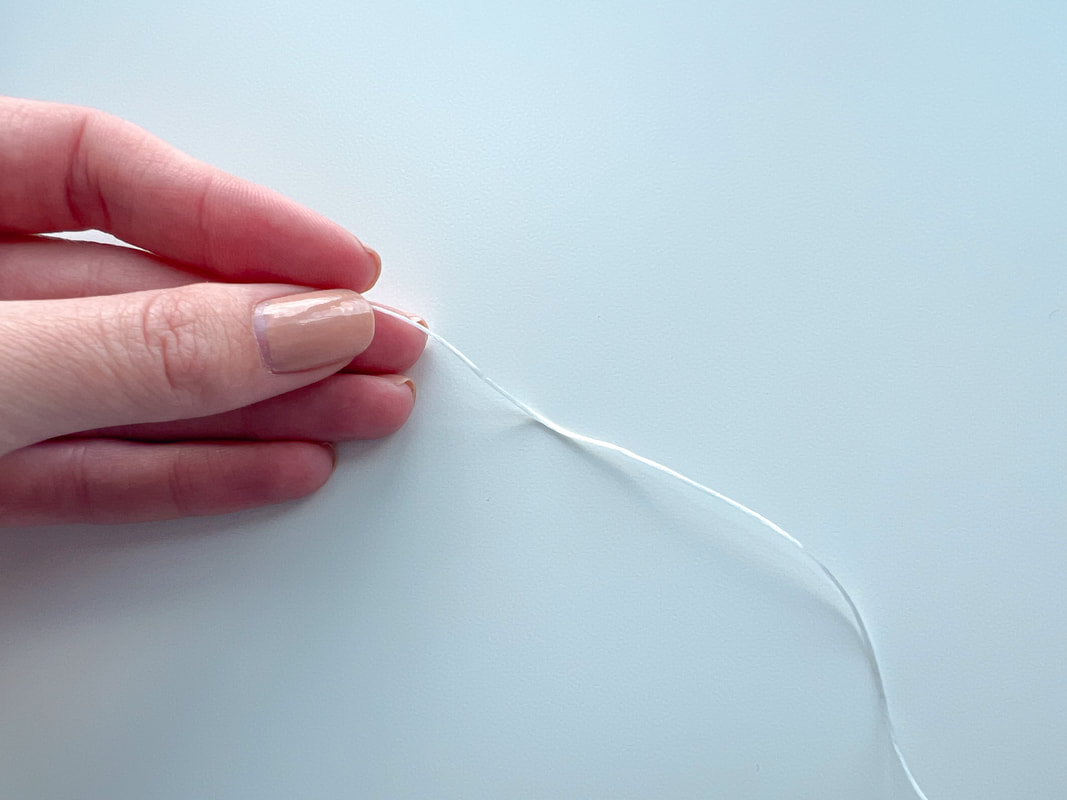 Before beading, give the elastic a gentle pull to stretch it out. STEP 4: TAPE OFF ONE END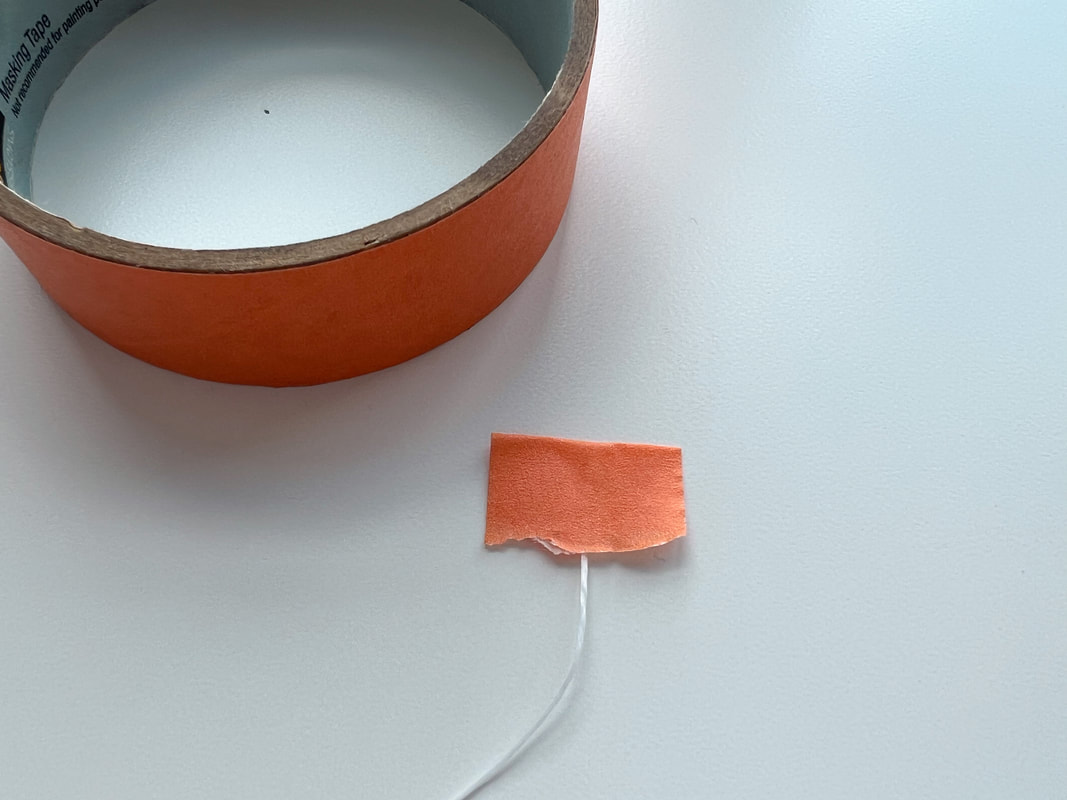 You want to make sure the beads do not fall off the elastic while you are making your bracelet. The best way to ensure the beads stay securely on the cord is to tape off one end with masking tape. STEP 5: SELECT BEADS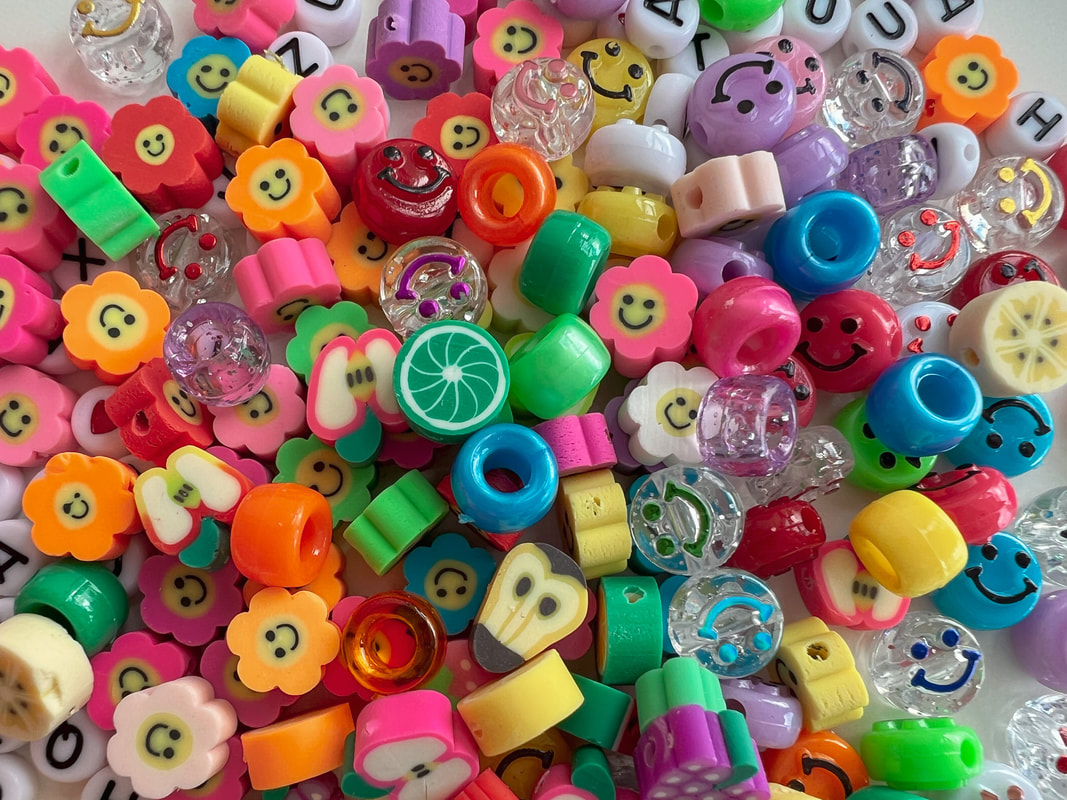 Now comes the fun part where you get to be creative! If you are Type A like I am, you will separate all your beads and plan out cool patterns. Another approach is to randomly select beads and let the design form itself. I also purchased letter beads so I could make bracelets with my favorite bands' and artists' names on them. You can also spell out your own name, a quote or word that inspires you, or simply put your initials on a bracelet. STEP 6: STRING BEADS ON ELASTIC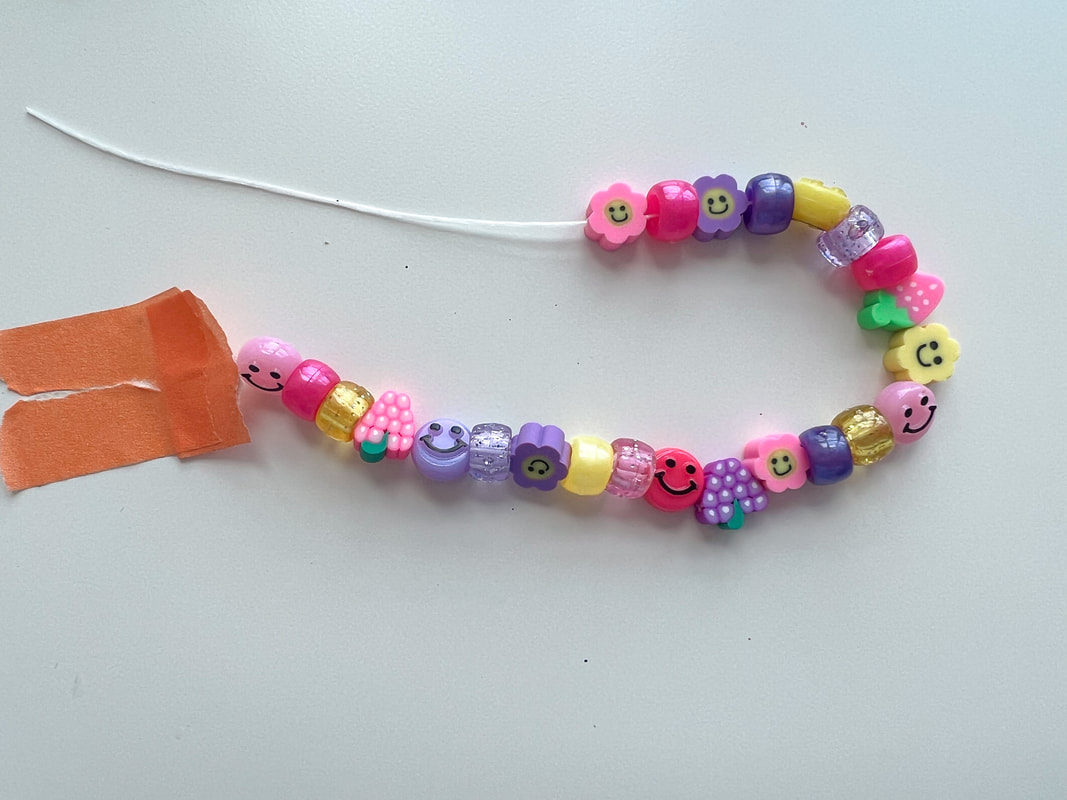 Next, I taped one end of the elastic to the table and strung the beads on through the other side. Stringing beads onto a bracelet is actually quite relaxing. STEP 7 (BRACELET): TIE OFF THE BRACELET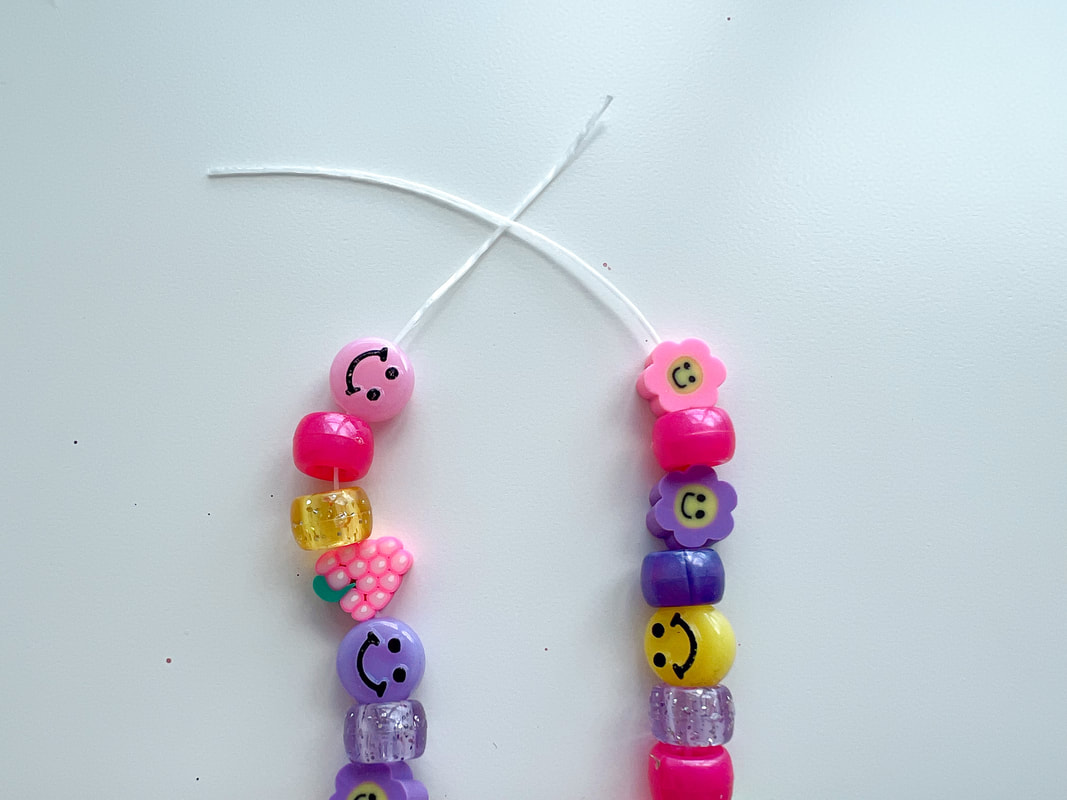 Once your design is complete, it is time to tie off the ends of the elastic. I simply did a few double knots and called it good. So far, my bracelets have stayed intact with no issues. Some people prefer to add a dot of glue on top of the knot to ensure it never unties, but the choice is yours. STEP 7 (NECKLACE): ADD CLASP TO BOTH ENDS OF NECKLACE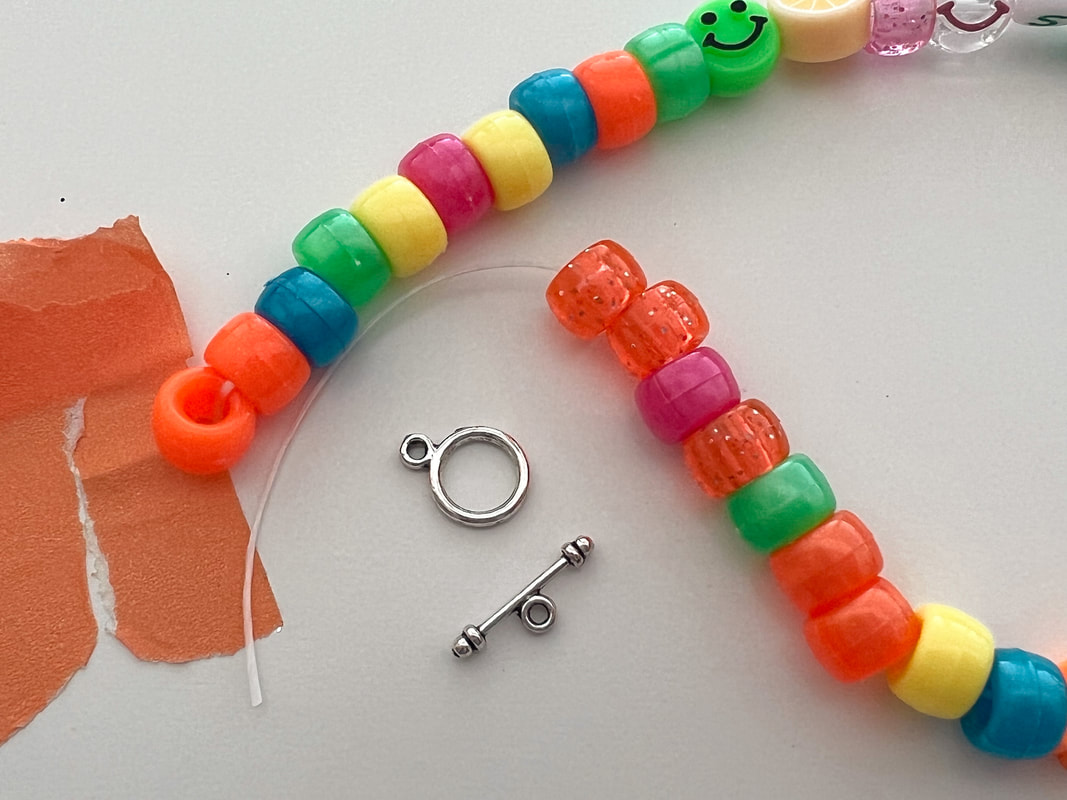 I made a few necklaces and decided to add a clasp so I wouldn't have to pull the necklaces over my head every time I want to wear them. Again, I am not an expert at tying off bracelets and necklaces, so I just double knotted these clasps to the end of the elastic and called it good. STEP 8: WEAR YOUR NEW BEADED JEWELRY THIS FALL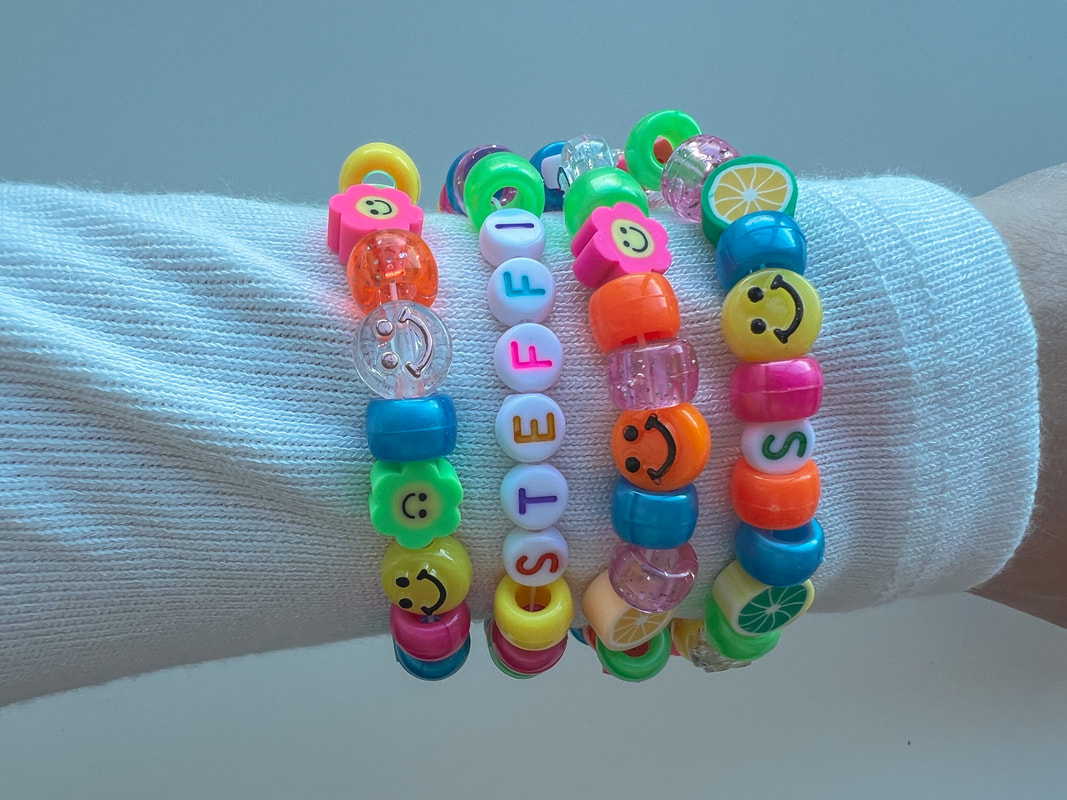 The final step is to style and show off your DIY jewelry. These colorful bracelets really add some personality to your outfit. It is also fun to wear a unique piece of jewelry no one else has. I hope you found this DIY blog post helpful and inspirational. If you are craving more DIY posts, check out my piece on how to make your own custom jeans using iron-on patches! SEE YOU NEXT SATURDAY WITH ANOTHER FASHION POST.
0 Comments
Leave a Reply. |
CategoriesAll Fashion Ootd STEFFI STYLES CategoriesAll Fashion Ootd STEFFI STYLES CategoriesAll Fashion Ootd STEFFI STYLES Authorhey it's Steffi, and this is my website where I post fashion, travel, and lifestyle blog posts. Enjoy! Archives
October 2023
Categories |
 RSS Feed